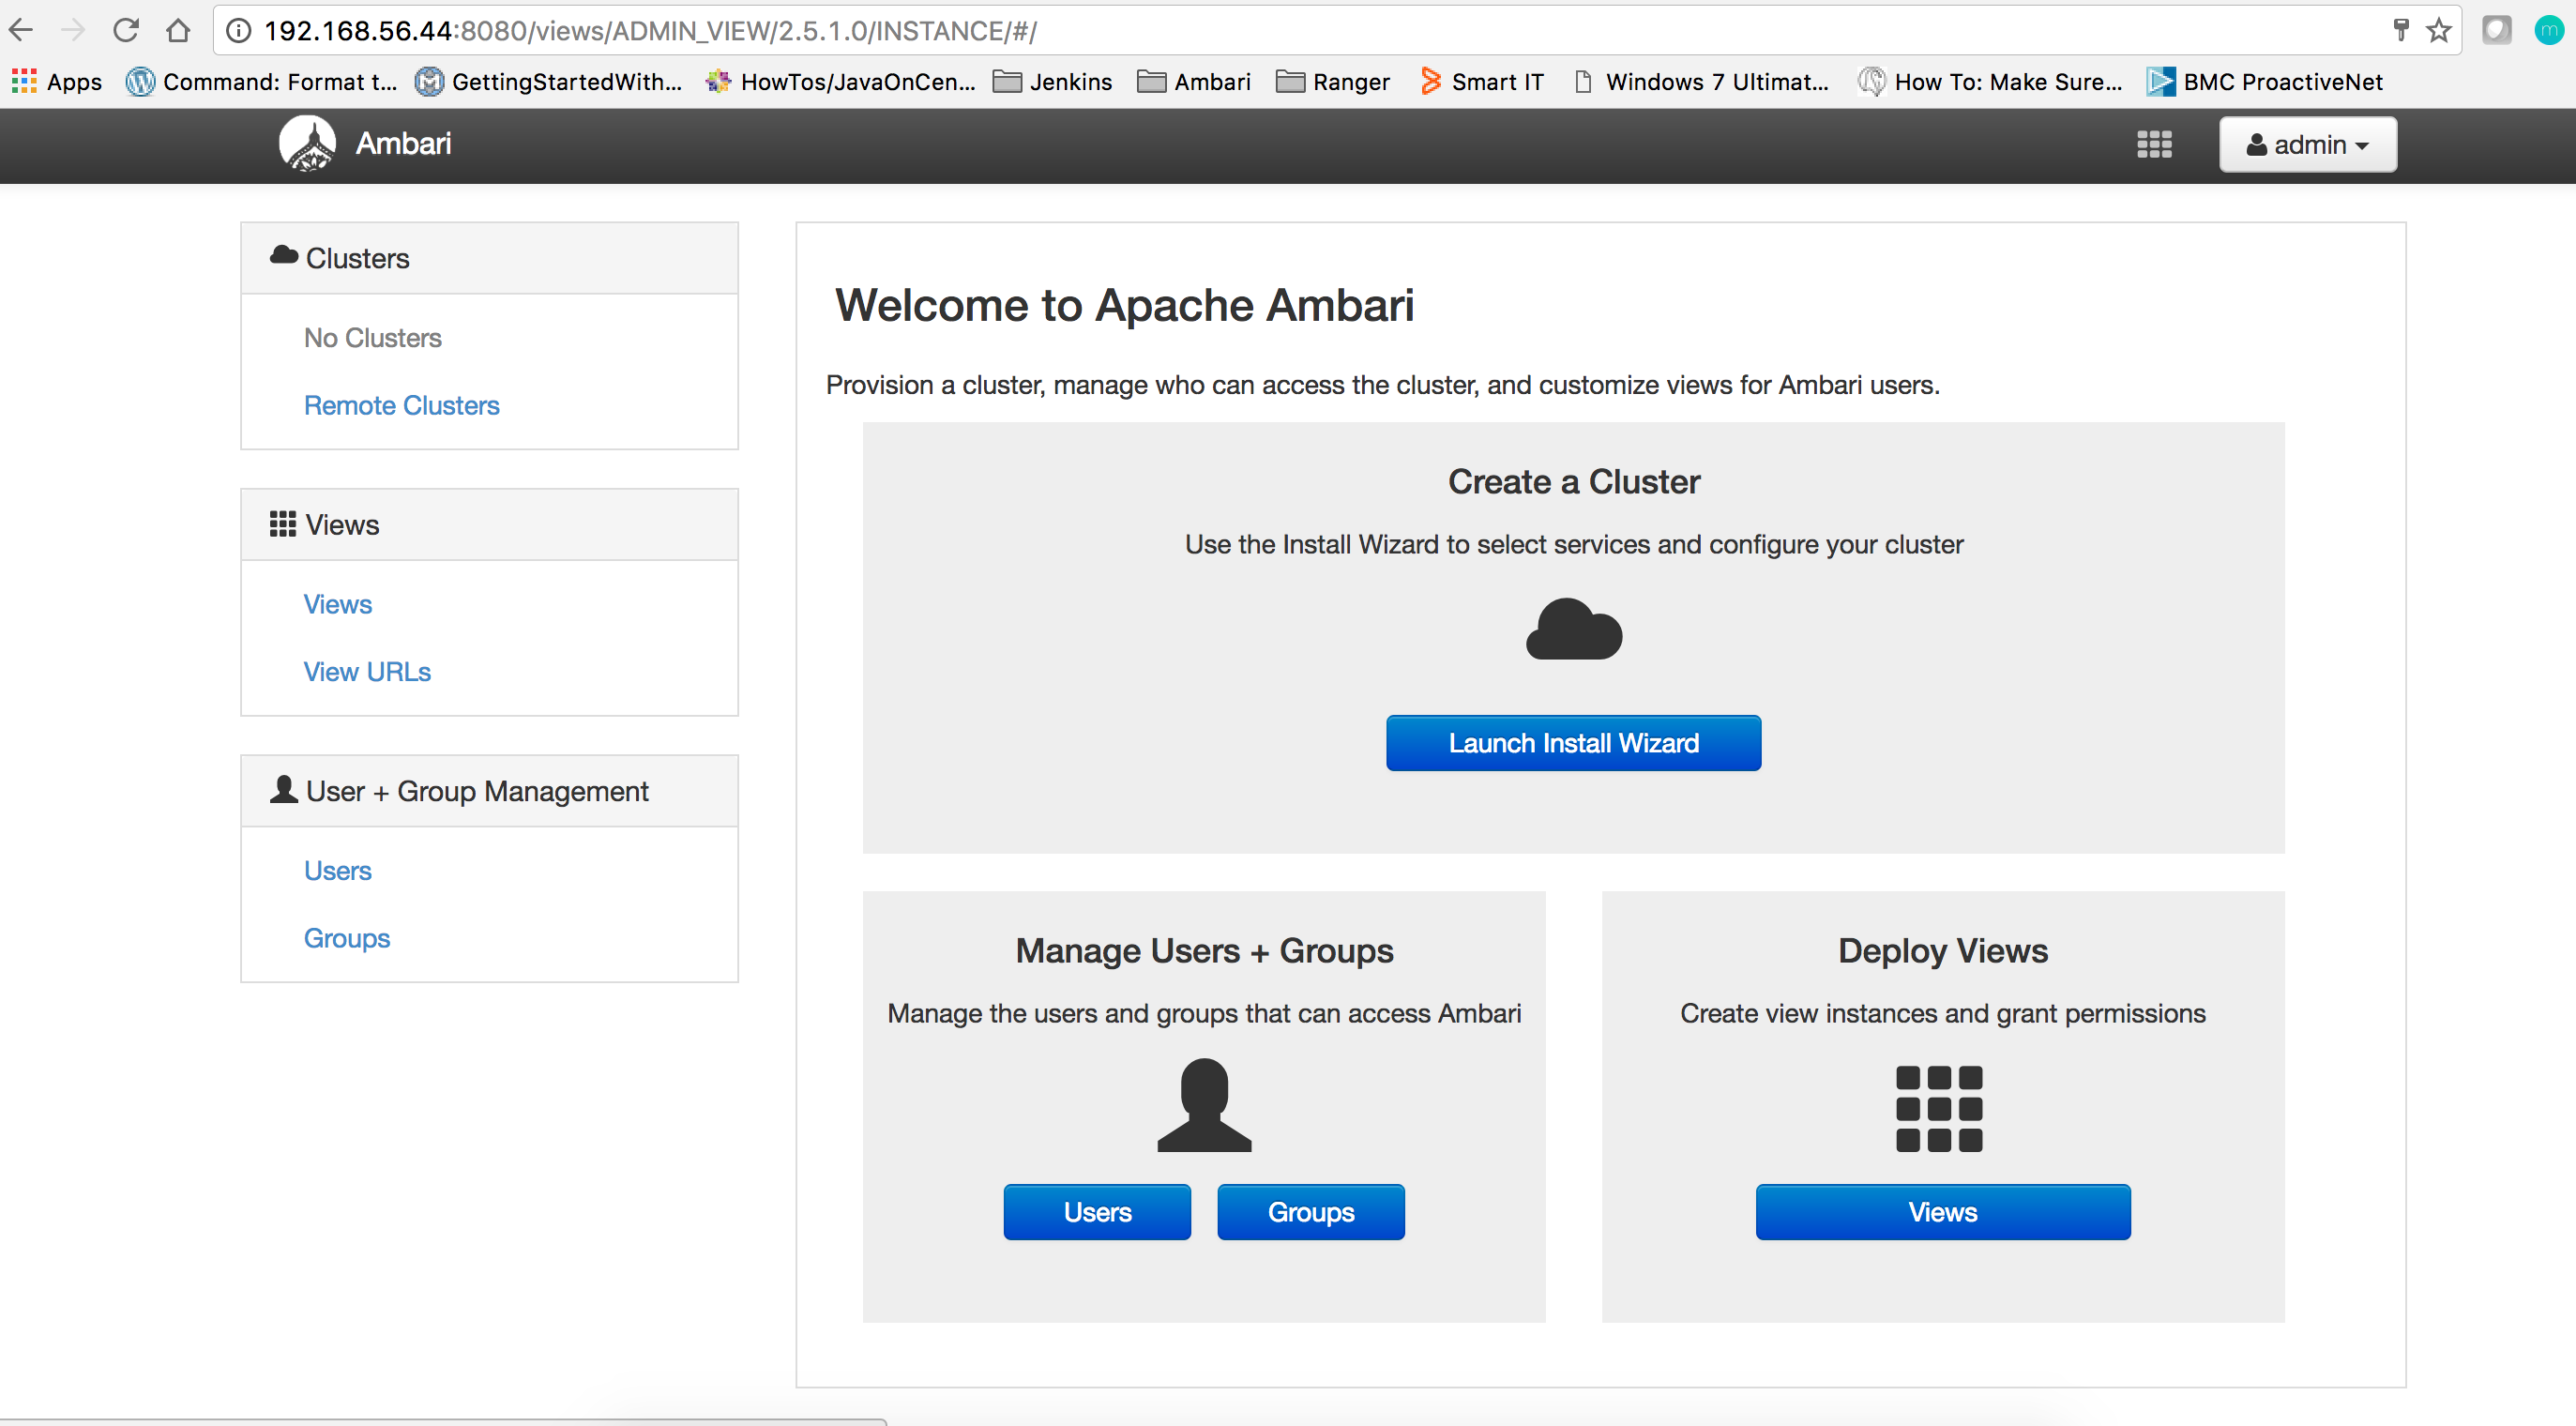
Once you have installed Ambari successfully(as explained in previous page Ambari Installation), then by login to ambari with admin:admin credential you will see “Cluster Install wizard displays a Welcome page”.
- So as a first step to install hdp in your hadoop cluster choose “Launch Install Wizard:”
- You need to name your cluster and then click next”type a name for the cluster you want to create” but use no white spaces or special characters in the name:

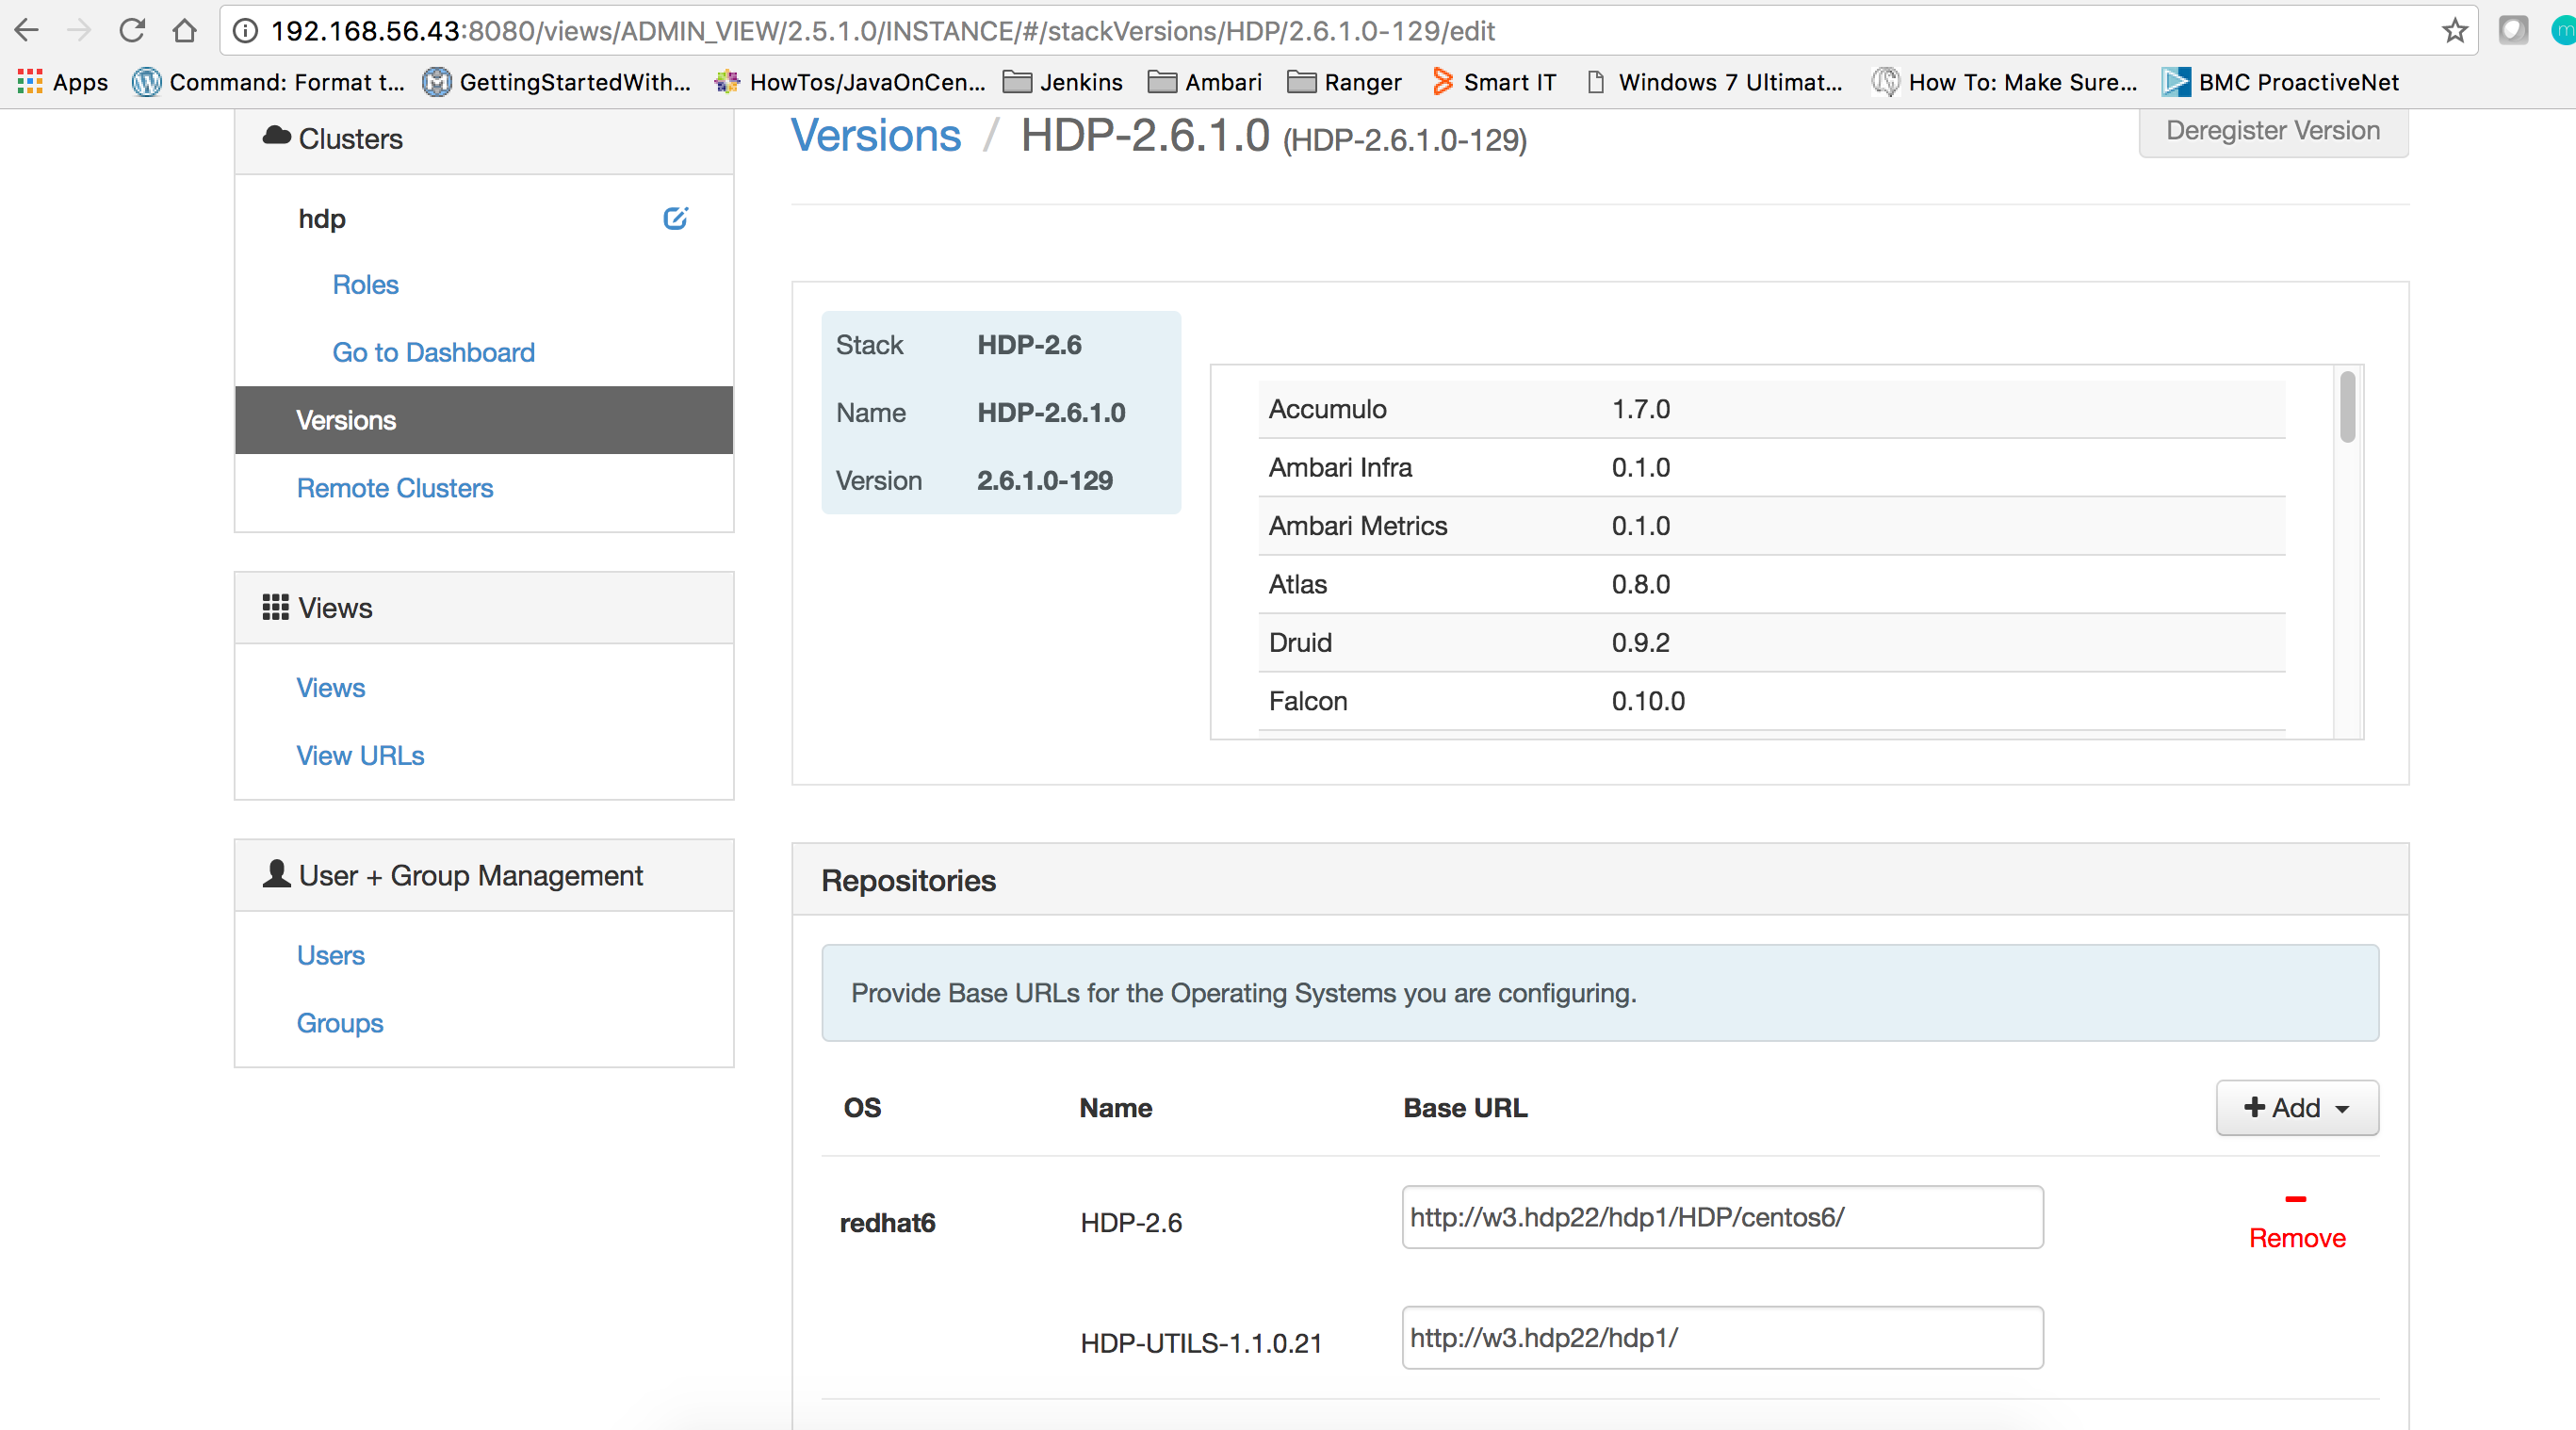
- Now you need to select hdp version and method of delivery for your cluster. Using a Public Repository requires Internet connectivity. Using a Local Repository requires you have configured httpd in a repository available in your network.

- Here you need to supply the FQDN of each of your hosts and private key of root from your ambari server host and then confirm host:

- Confirm Hosts prompts you to confirm that Ambari has located the correct hosts for your cluster and to check those hosts to make sure they have the correct directories, packages, and processes required to continue the install.If you see any error then resolve that first and then go next:


- Based on your hdp version, you will get choice of Services to install into the cluster. A Stack comprises many services. You may choose to install any other available services now, or to add services later:

Now this window will show you assigned host and components for selected services.If you want to change soem services to some host then you can change it here from drop down list of that service:

- This window will show the slave components, such as DataNodes, NodeManagers, and RegionServers, to appropriate hosts in your cluster. It also attempts to select hosts for installing the appropriate set of clients:

- The Customize Services step give you with a set of tabs that let you review and modify your services.You need to provide hive,oozie, grafana and Smart sense password. You are strongly encouraged to review these settings as your requirements might be slightly different.
You can create hive and oozie user with the help of following commands:
CREATE USER 'hive'@'%' IDENTIFIED BY 'hadoop';
GRANT ALL PRIVILEGES ON *.* TO 'hive'@'%';
CREATE USER 'hive'@'localhost' IDENTIFIED BY 'hadoop';
GRANT ALL PRIVILEGES ON *.* TO 'hive'@'localhost';
CREATE USER 'hive'@'sandbox' IDENTIFIED BY 'hadoop';
GRANT ALL PRIVILEGES ON *.* TO 'hive'@'sandbox';
FLUSH PRIVILEGES;

CREATE USER 'oozie'@'%' IDENTIFIED BY 'hadoop';
GRANT ALL PRIVILEGES ON *.* TO 'oozie'@'%';
CREATE USER 'oozie'@'localhost' IDENTIFIED BY 'hadoop';
GRANT ALL PRIVILEGES ON *.* TO 'oozie'@'localhost';
CREATE USER 'oozie'@'sandbox' IDENTIFIED BY 'hadoop';
GRANT ALL PRIVILEGES ON *.* TO 'oozie'@'sandbox';
FLUSH PRIVILEGES;


- Once you provided all required parameters then click next and it will give you some waring which you can ignore safely.

- This window will give you an option to review all services and you need to make sure everything is correct.If you see anything suspicious then go back and change accordingly. Click next

- In this window you will see the progress of the install process. Ambari installs, starts, and runs a simple test on each component. Overall status of the process displays in progress bar at the top of the screen and host-by-host status displays in the main section. Do not refresh your browser during this process:

- This is your final step and the Summary page provides you a summary list of the accomplished tasks. Choose Complete. and if everything installed successfully then ambari web opens in your web browser:


Now you should smile as you have successfully configured hdp cluster and achieved a milestone. Next article will help you to add a new node into your cluster.
I hope this article helped you and you enjoyed it. I would be very happy if you can give your valuable feedback or suggestion to improve this site.